After you have mastered (or at least become familiar) with the basic cast-on, knit, and purl stitches, your next step will be an exciting one: actually making something! It’s a good idea to start with something simple, and work your way up. Here is a simple pattern that you should be able to complete with the skills you’ve already learned.
Washcloth OR Scarf
Supplies:
– Size 8 knitting needles
– 1 ball/skein worsted weight yarn
Cast on 40 stitches.
Row 1: Knit all the way across.
Row 2: Knit all the way across again!
Row 3: Knit all the way across….again…
Row 4: Knit all the way across one last time.
Row 5: Knit the first 5 stitches, purl the next 30 stitches, knit the last 5 stitches.
Row 6: Knit all the way across.
Repeat Rows 5 and 6 until the length of your project is the same as the width (so it’s a square) for a washcloth, OR keep going until it’s as long as you want it for a scarf.
Repeat Rows 1-3, and then cast off.
Now, I am going to re-write the SAME pattern above, but with typical abbreviations that most knitting patterns would use:
Washcloth OR Scarf
CO 40.
Rows 1-4: K.
Row 5: k5, p30, k5.
Row 6: k.
Repeat rows 5-6 until desired length.
Repeat rows 1-3, cast off.
Whoa! Casting off! What is that?! (Don’t worry, I gotcha. Watch the video below.)
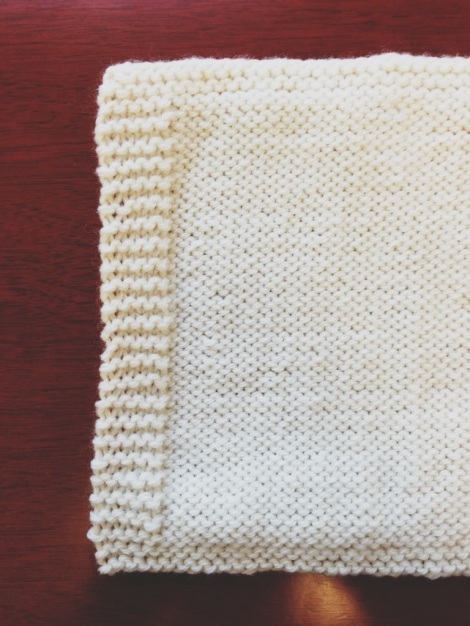
But before that, here is a picture that should help you see what you are shooting for:

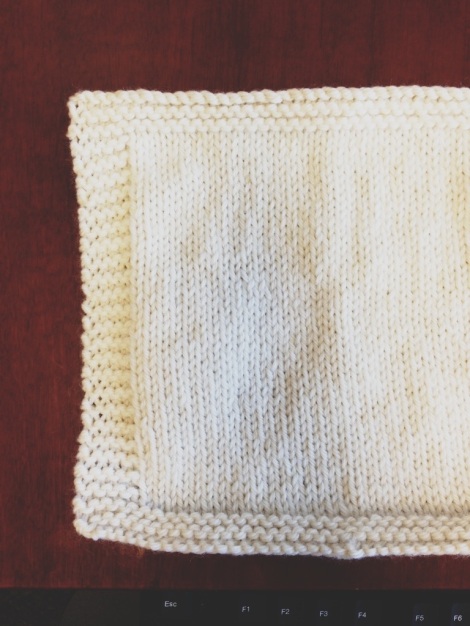
Blue arrows: point to the 5 stitches that you always knit on the edges, creating a border.
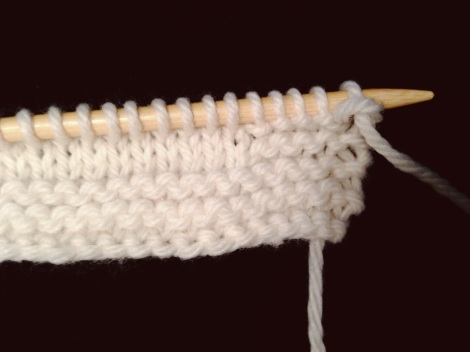
Orange arrow: points to the first 4 rows that are all knit.
Red arrows: point to the middle section that is knit on the front (right) side and purled on the back (wrong) side; also known as “stockinette” stitch, or abbreviated “st st.”
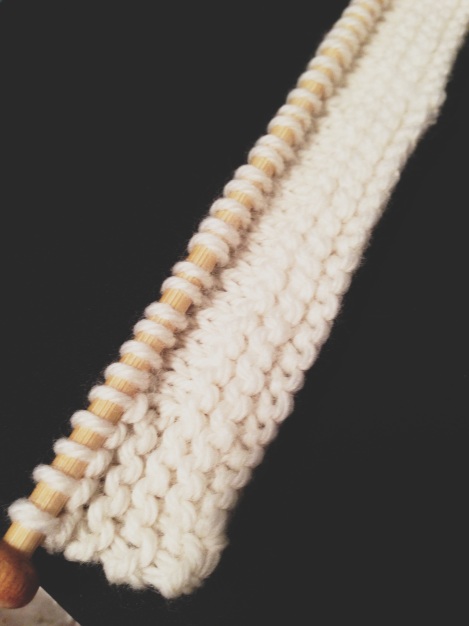
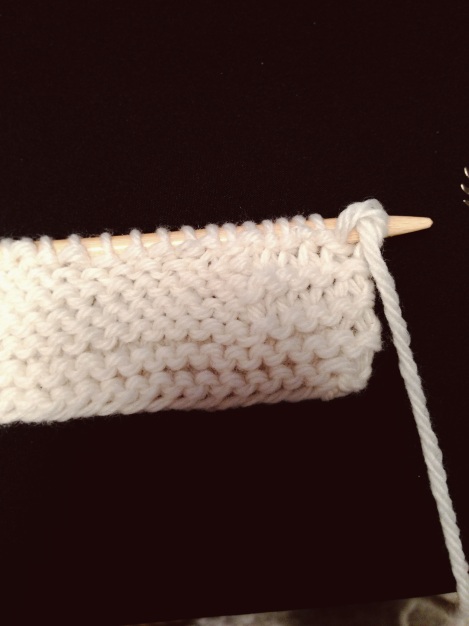
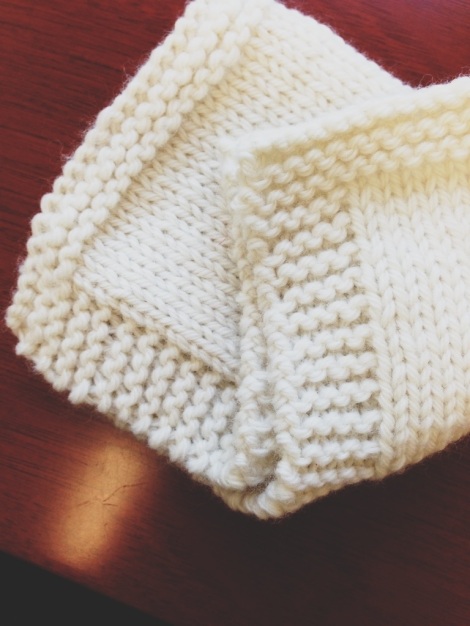
Below are some more close-up shots. Happy knitting! Please post any questions or comments!

I am an intermediate knitter, but think this is such a good tutorial. Covers the basics in a clear, easy way. Thank you.
I stumbled across your pattern and I want to say thank you so much! I’m a little bit new to knitting, stumbling my way through things, and I’m definitely going to try this. Would you think a blanket could be made from this, if you took one square and added a few more on? Maybe four squares across and 16 squares total? I hope this makes sense. I think it would make a nice blanket. I wish all knitting patterns made as much sense as yours does. Thank you again.
Hi there! I’m so glad my notes are helpful for you. I think you could definitely make a blanket out of these squares; you could even use different colors in each square and make it a colorful mix. Best wishes!
I know this is an older post, but I was wondering what you think the gauge might be for this pattern. I’m trying to find an easy project to teach my daughter-in-law, I knit tightly so I’m not sure how best to explain or demonstrate her project should end up?
Hmm you know, I am not quite sure what this gauge is unfortunately. I didn’t even think to measure it at the time! I would suggest finding a yarn that has a “suggested” gauge listed on it. Oftentimes, in the area where the recommended needle size is listed, it sometimes says something like “4 stitches per inch” or something of the sort; and then knit a section with the recommended needles, measure, and see how close you are to the listed recommendation. Hopefully that helps!
Great pattern! Would like to make a baby blanket, for stroller. Approximately how man stitches to cast on and I will use a circular needle size 8 with worsted yarn. Is this correct? Thanking you in advance. (just learned how to knit)
Yup, a circular is best for larger projects! See my reply to your latest comment.
Would like to make a stroller blanket using this pattern, great pattern for one. Please give me info on how to? Thanks
Sounds great! So the pattern here comes to about an 8-9 inch square, and that’s with casting on 40 stitches. I would figure out how wide you want the blanket to be, and then multiply the 40 cast on by however many “8-in” segments (for instance, if you want it to be 32″ wide, cast on 160 stitches). Then just work until it’s the desired length, and finish off with the border. Hope that helps!